บทนำ Qdrant และข้อดีของการรันแบบ Standalone
Qdrant คือ Vector Database (ฐานข้อมูลเวกเตอร์) แบบ Open Source ที่ออกแบบมาเพื่องาน AI และ Machine Learning โดยเฉพาะ เหมาะสำหรับการสร้างระบบ RAG (Retrieval-Augmented Generation), Semantic Search, และ Recommendation System ที่ต้องการค้นหาข้อมูลด้วยความหมาย (Semantic) แทนการค้นหาแบบคำต่อคำ
ข้อดีของการรัน Qdrant แบบ Standalone (ไม่ใช้ Docker)
- เบาและรวดเร็ว - ไม่ต้องติดตั้ง Docker Desktop (ซึ่งใช้ RAM และ CPU มาก)
- เข้าใจง่ายสำหรับมือใหม่ - รันไฟล์ Executable ได้เลยผ่าน Terminal
- ยืดหยุ่นในการพัฒนา - เหมาะสำหรับการทดสอบและพัฒนา AI Agent, LLM Application
- ควบคุมการตั้งค่าได้ง่าย - สามารถปรับแต่ง Port และ Config ได้ตรงๆ
- ใช้งานได้ทุกแพลตฟอร์ม - รองรับ Windows, macOS และ Linux
2. วิธีติดตั้ง Qdrant โดยไม่ใช้ Docker
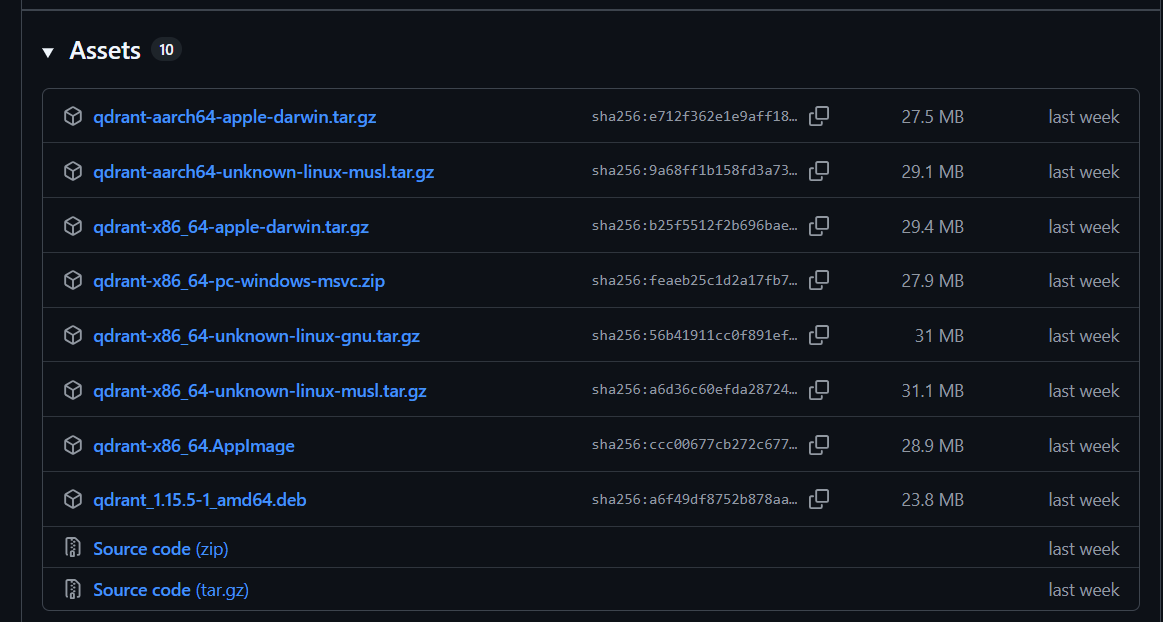
ขั้นตอนที่ 1: ดาวน์โหลด Qdrant Binary/Executable
-
เข้าไปที่ Qdrant GitHub Releases: Releases · qdrant/qdrant · GitHub
-
เลือกเวอร์ชันล่าสุด (เช่น
v1.12.0) -
ดาวน์โหลดไฟล์ตามระบบปฏิบัติการของคุณ:
- Windows:
qdrant-x86_64-pc-windows-msvc.zip - macOS (Intel):
qdrant-x86_64-apple-darwin.tar.gz - macOS (Apple Silicon/M1/M2):
qdrant-aarch64-apple-darwin.tar.gz - Linux:
qdrant-x86_64-unknown-linux-gnu.tar.gz
- Windows:
ขั้นตอนที่ 2: แตกไฟล์และเปิด Terminal ใน VSCode
- แตกไฟล์
.zipหรือ.tar.gzที่ดาวน์โหลดมา - เปิด VSCode
- ไปที่ Menu:
File > Open Folder...และเลือกโฟลเดอร์ที่แตกไฟล์ Qdrant ไว้ - เปิด Terminal ใน VSCode:
Terminal > New Terminal(หรือกดCtrl+`)
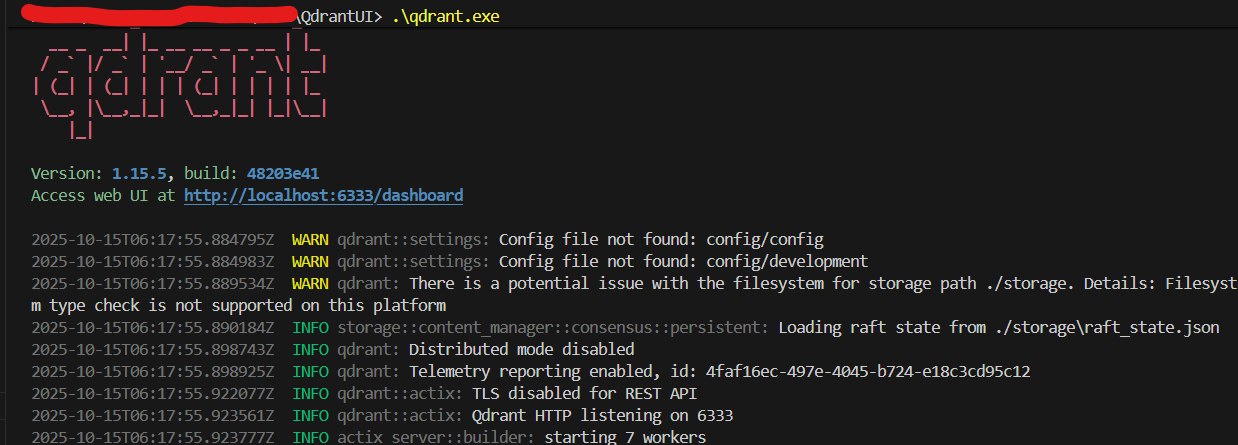
ขั้นตอนที่ 3: รัน Qdrant
สำหรับ Windows:
.\qdrant.exe
สำหรับ macOS/Linux:
chmod +x ./qdrant
./qdrant
หมายเหตุ: คำสั่ง chmod +x ใน macOS/Linux จำเป็นต้องรันครั้งแรกเพื่อให้ไฟล์สามารถ Execute ได้
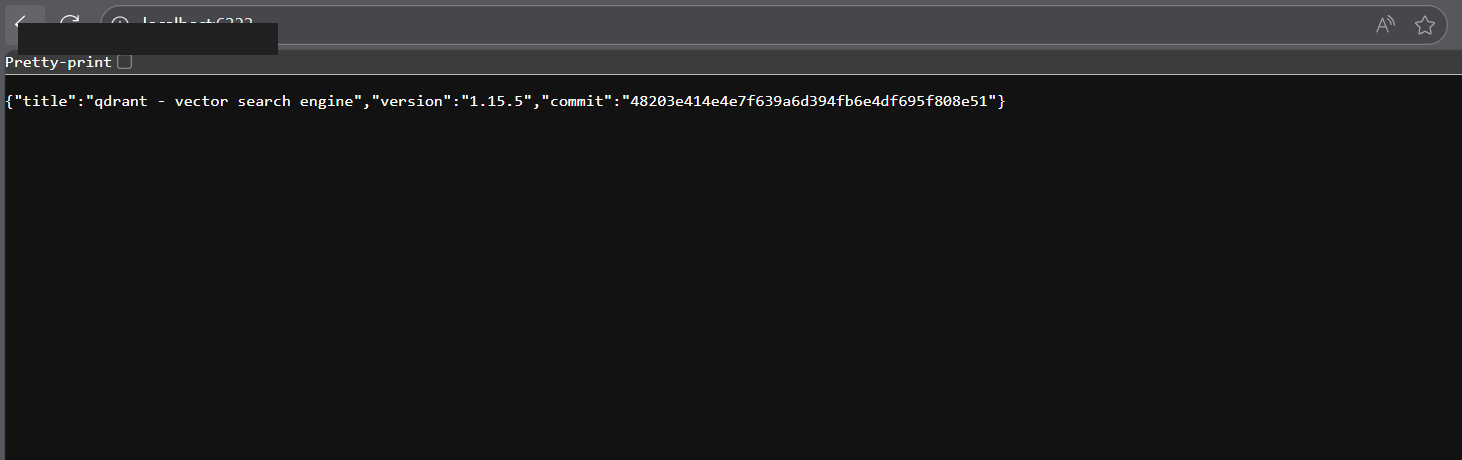
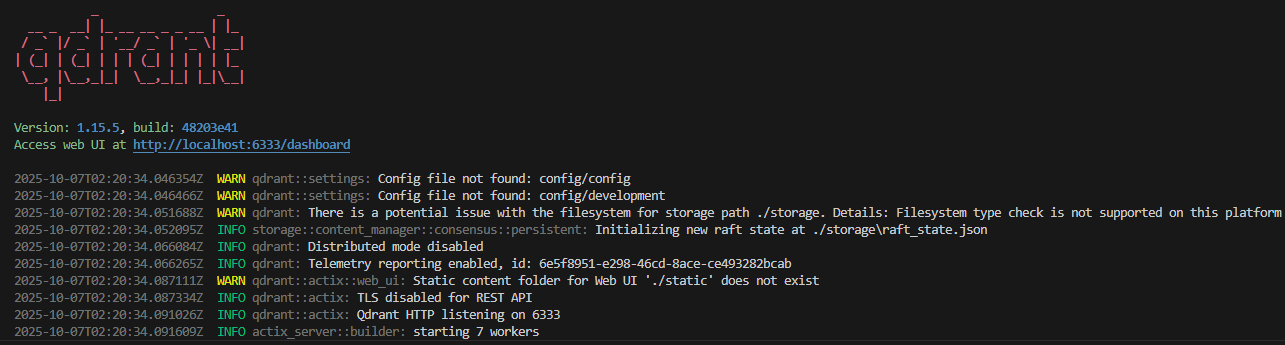
ขั้นตอนที่ 4: ทดสอบการเชื่อมต่อ
เมื่อ Qdrant รันสำเร็จ คุณจะเห็นข้อความใน Terminal ประมาณนี้:
Qdrant HTTP listening on 6333
เปิดเว็บเบราว์เซอร์และเข้าไปที่:
http://localhost:6333/dashboard
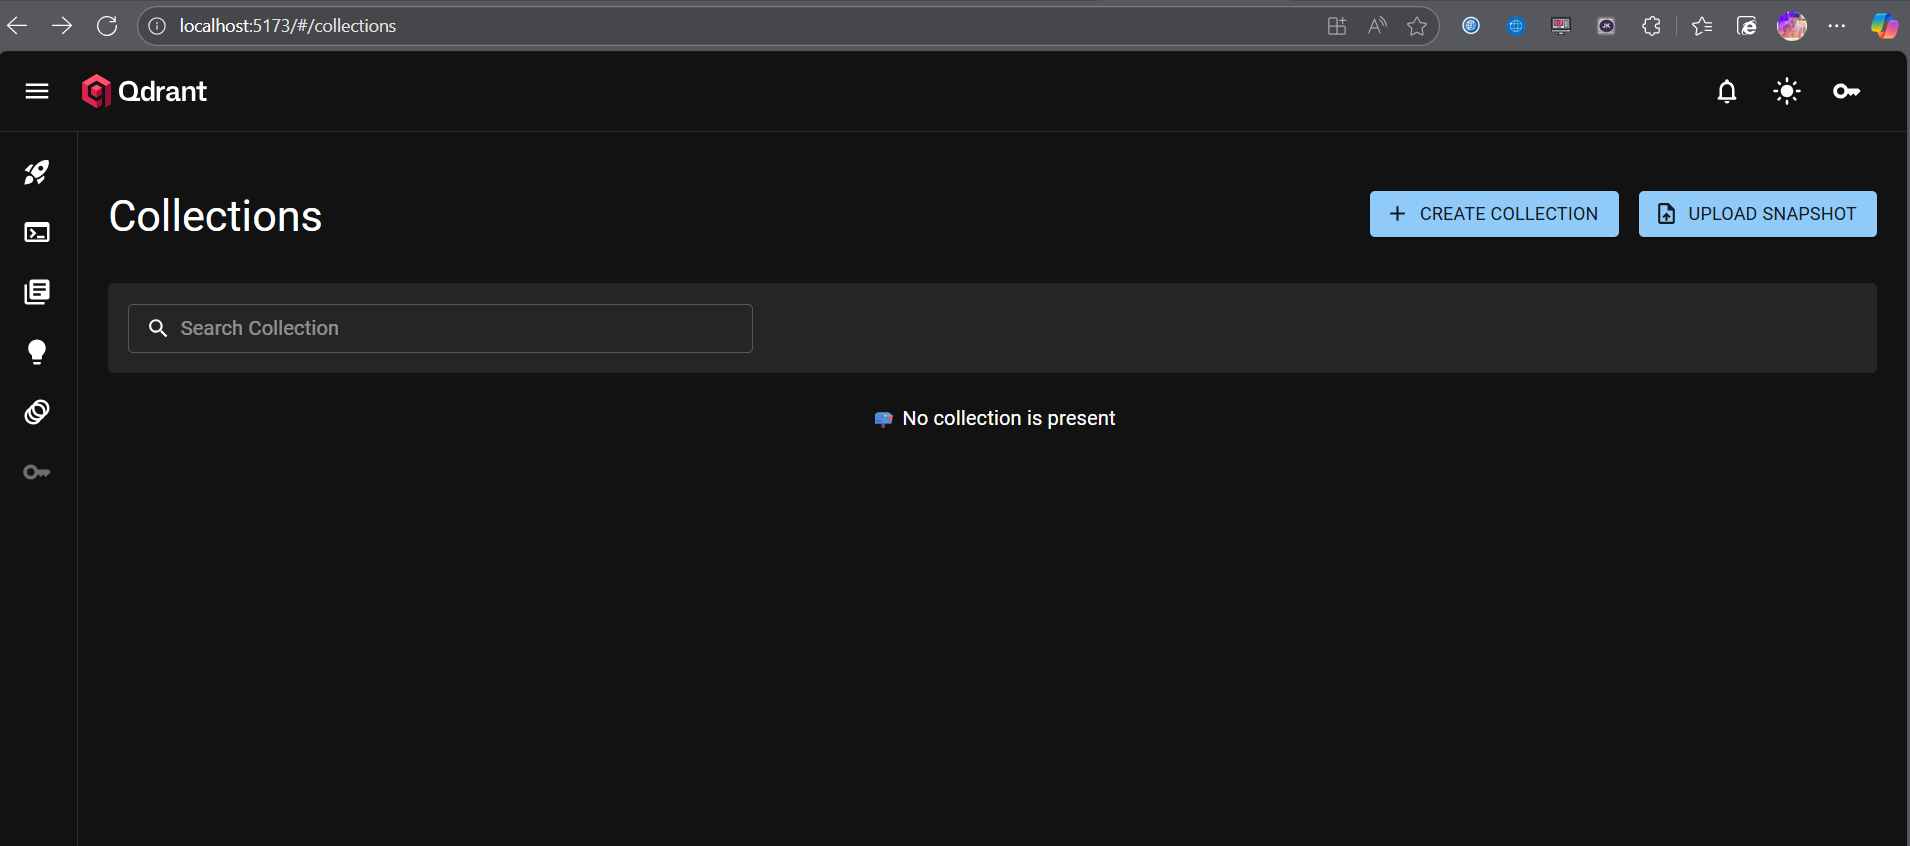
คุณจะเห็น Qdrant Dashboard ที่สามารถจัดการ Collection, ดูข้อมูล Vector และทดสอบ Query ได้
3. การตั้งค่า Environment ให้รันใน PATH (ถาวร)
ถ้าต้องการเรียกใช้ qdrant จากที่ไหนก็ได้โดยไม่ต้อง cd เข้าโฟลเดอร์ทุกครั้ง ให้เพิ่ม Path ลงใน Environment Variable:
Windows:
- คัดลอก Path ของโฟลเดอร์ที่มี
qdrant.exe(เช่นC:\Tools\qdrant) - กด
Win + Sค้นหา “Environment Variables” - เลือก Edit the system environment variables
- กด Environment Variables…
- ใน System variables เลือก
Pathและกด Edit - กด New และวาง Path ของ Qdrant
- กด OK ทุกหน้าต่าง
- เปิด Terminal ใหม่และพิมพ์:
qdrant
macOS/Linux:
เพิ่มบรรทัดนี้ใน ~/.zshrc หรือ ~/.bashrc:
export PATH="$PATH:/path/to/qdrant/folder"
จากนั้นรัน:
source ~/.zshrc
4. ติดตั้ง Python Client และทดสอบสั่งงาน
ติดตั้ง Qdrant Client สำหรับ Python:
pip install qdrant-client
ตัวอย่างโค้ด Python เพื่อเชื่อมต่อและใช้งาน Qdrant:
from qdrant_client import QdrantClient
from qdrant_client.models import Distance, VectorParams, PointStruct

# เชื่อมต่อ Qdrant
client = QdrantClient(host="localhost", port=6333)

# สร้าง Collection
client.create_collection(
    collection_name="test_collection",
    vectors_config=VectorParams(size=4, distance=Distance.COSINE),
)

# เพิ่มข้อมูล Vector
client.upsert(
    collection_name="test_collection",
    points=[
        PointStruct(id=1, vector=[0.1, 0.2, 0.3, 0.4], payload={"name": "AI"}),
        PointStruct(id=2, vector=[0.5, 0.6, 0.7, 0.8], payload={"name": "ML"}),
    ]
)

# ค้นหา Vector ที่ใกล้เคียงที่สุด
search_result = client.search(
    collection_name="test_collection",
    query_vector=[0.2, 0.3, 0.4, 0.5],
    limit=2
)

print("Search results:")
for result in search_result:
    print(f"ID: {result.id}, Score: {result.score}, Payload: {result.payload}")
ผลลัพธ์ที่ได้:
Search results:
ID: 1, Score: 0.998, Payload: {'name': 'AI'}
ID: 2, Score: 0.992, Payload: {'name': 'ML'}
5. ข้อควรระวังและแก้ปัญหา
Windows:
- ปัญหา: เจอ Error เกี่ยวกับ
VCRUNTIME140.dllหรือ DLL อื่นๆ หาย - แก้ไข: ติดตั้ง Microsoft Visual C++ Redistributable
- ดาวน์โหลดได้ที่: https://aka.ms/vs/17/release/vc_redist.x64.exe
macOS:
- ปัญหา: macOS บล็อกการรันไฟล์จาก Developer ที่ไม่รู้จัก
- แก้ไข: ไปที่
System Preferences > Security & Privacyและกด Open Anyway - หรือใช้คำสั่ง:
xattr -d com.apple.quarantine ./qdrant
Linux:
- ปัญหา: Permission denied
- แก้ไข: ใช้คำสั่ง
chmod +x ./qdrantก่อนรัน
ปัญหาทั่วไป:
- Port 6333 ถูกใช้งานอยู่แล้ว: ใช้คำสั่ง
เพื่อเปลี่ยน Port./qdrant --http-port 6334
6. แนวคิดเพิ่มเติมสำหรับ AI, LLM และ RAG
Qdrant เป็น Vector Database ที่ทรงพลังสำหรับการพัฒนา AI Application หลายรูปแบบ:
1. RAG (Retrieval-Augmented Generation)
- ใช้ Qdrant เก็บ Embedding ของเอกสาร (Document Embeddings)
- เมื่อผู้ใช้ถามคำถาม ระบบจะค้นหาเอกสารที่เกี่ยวข้องจาก Qdrant
- ส่งเอกสารนั้นไปให้ LLM (เช่น GPT-4, Claude) เพื่อสร้างคำตอบที่แม่นยำ
2. Semantic Search
- ค้นหาข้อมูลโดยใช้ความหมาย แทนการค้นหาแบบ Keyword
- เหมาะสำหรับ E-commerce, Knowledge Base, Document Search
3. Recommendation System
- สร้างระบบแนะนำสินค้า/บทความที่คล้ายกัน
- ใช้ Vector Similarity เพื่อหาผลิตภัณฑ์ที่ตรงกับความสนใจของผู้ใช้
4. AI Agent Memory
- ใช้ Qdrant เป็น Long-term Memory สำหรับ AI Agent
- Agent สามารถเรียกดูประวัติการสนทนาหรือข้อมูลที่เกี่ยวข้องได้
5. Multimodal Search
- ค้นหาข้ามประเภทข้อมูล (Text, Image, Audio)
- เช่น ค้นหารูปภาพด้วยข้อความ หรือค้นหาข้อความด้วยเสียง
7. อ้างอิง
- Qdrant Documentation - Installation Guide: Installation - Qdrant
- Qdrant Quickstart: Local Quickstart - Qdrant
- Qdrant GitHub Releases: Releases · qdrant/qdrant · GitHub
- Qdrant Python Client: https://python-client.qdrant.tech/
สรุป
การติดตั้ง Qdrant แบบ Standalone (ไม่ใช้ Docker) เป็นทางเลือกที่ดีสำหรับนักพัฒนาที่ต้องการความเบา รวดเร็ว และเข้าใจง่าย เหมาะสำหรับการเรียนรู้และพัฒนา AI Application โดยเฉพาะงาน RAG, Semantic Search และ LLM Agent ที่ต้องการ Vector Database ประสิทธิภาพสูง
ลองติดตั้งและเริ่มสร้าง AI Project ของคุณกับ Qdrant บน VSCode กันเลย! ![]()
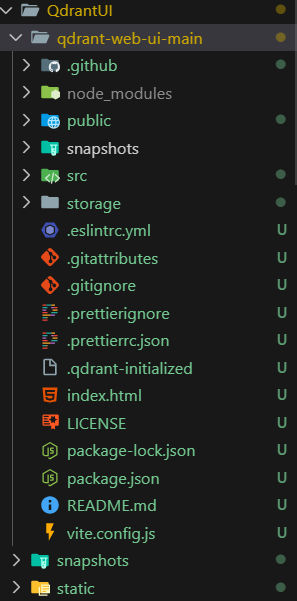
เพิ่มเติมสร้าง web dashboard
โหลด GitHub - qdrant/qdrant-web-ui: Self-hosted web UI for Qdrant
แตกไฟล์ แล้วสร้าง Folder ชื่อ static
cd qdrant-web-ui
npm install
npm run build
ย้ายไฟล์จาก dist มาอยู่ใน static โดยตรง
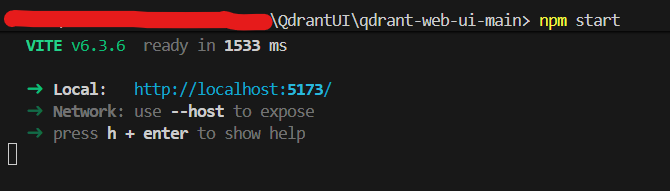
ใช้คำสั่ง รันเว็บ
npm start
โหดลไฟล์ qdrant.exe นำมาวางในโฟร์เดอร์เดียวกันแล้วใช้คำสั่ง
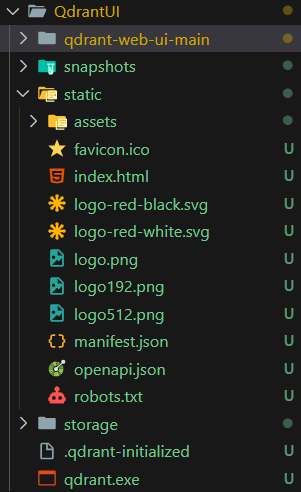
.\qdrant.exe