ปกติแล้วเวลาเราคิดโปรเจ็คเกี่ยวกับวงจรหรือลอจิกที่มี arduino เข้ามาเกี่ยวข้องเรามักจะ[/right]ออกแบบ และทำการ Simulation เพื่อดูผลลัพธ์เบื้องต้นเสียก่อน เราก็มักจะนึกถึงโปรแกรมจำพวก Proteus เป็นต้น แต่ด้วยราคาค่าลายเส้นมันค่อนข้างแพงเกินตัวจะเสียเงินซื้อของแท้มาก็อาจจะต้องอดข้าวไปหลายมื้อ หรือจะไปโหลดของเถื่อนมาก็กลัวจะได้ของแถมติดเครื่องมาอีก วันนี้ผมเลยขอแนะนำทางออกที่ตรงใจหลายๆ คนครับ
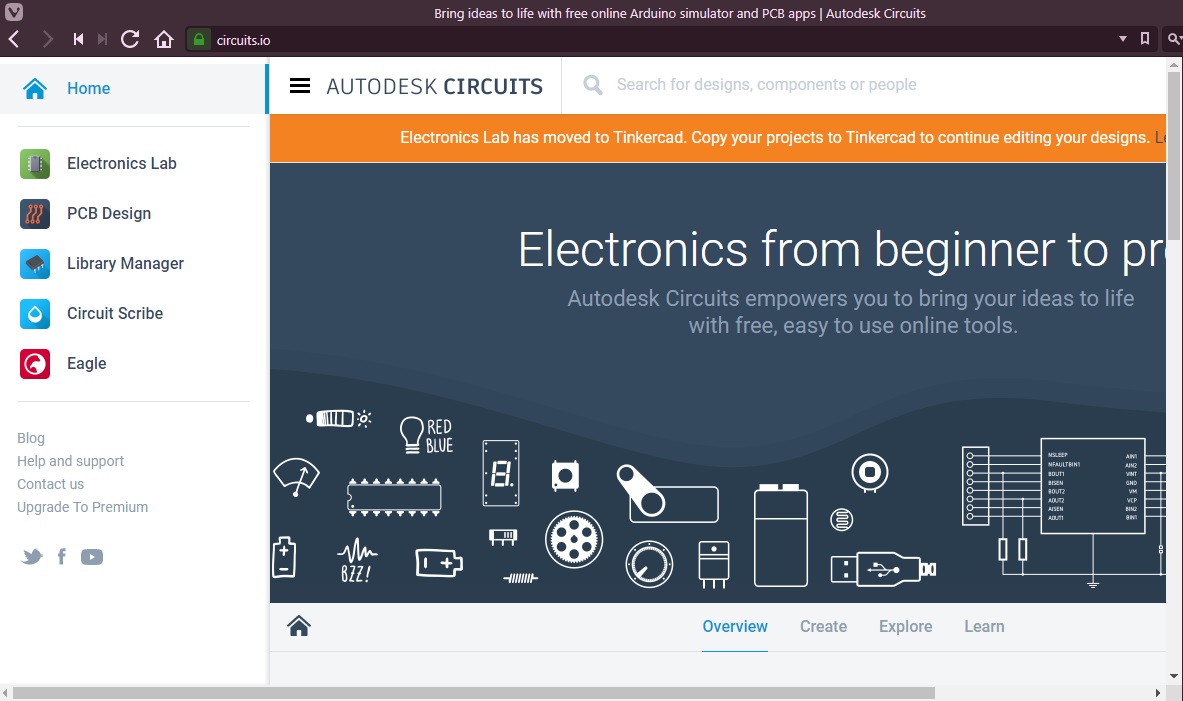
…เริ่มแรกเราก็มาทำความรู้จักกับเว็บ tinkercad.com กันก่อนครับ tinkercad ก็เป็นเว็บ IDE ตัวหนึ่งที่ให้เราสามารถออกแบบและจำลองการทำงานของวงจร ลาย PCB หรือแม้กระทั้งรูปทรงสามมิติด้วย ซึ่งเครื่องมือเครื่องใช้ที่ทำมาให้เราใช้งานก็ค่อนข้างที่จะครบครันกันเลยทีเดียว ในกระทู้นี้ผมจะขอกล่าวถึงเฉพาะของ Circuits กันก่อนนะครับส่วนสามมิติจะตั้งอีกห้องหนึ่ง ในส่วนของ circuits แรกเริ่มเดิมทีจะอยู่ที่เว็บ circuits.io แต่ไม่รู้ยังไงจับพลัดจับพลูถูกย้ายมาอยู่บนเว็บ tinkerCAD เสียได้ แต่ไม่ว่าจะยังไงเขาก็ยังให้เราใช้ฟรีเป็นอันพอแล้วหล่ะครับ ![]()
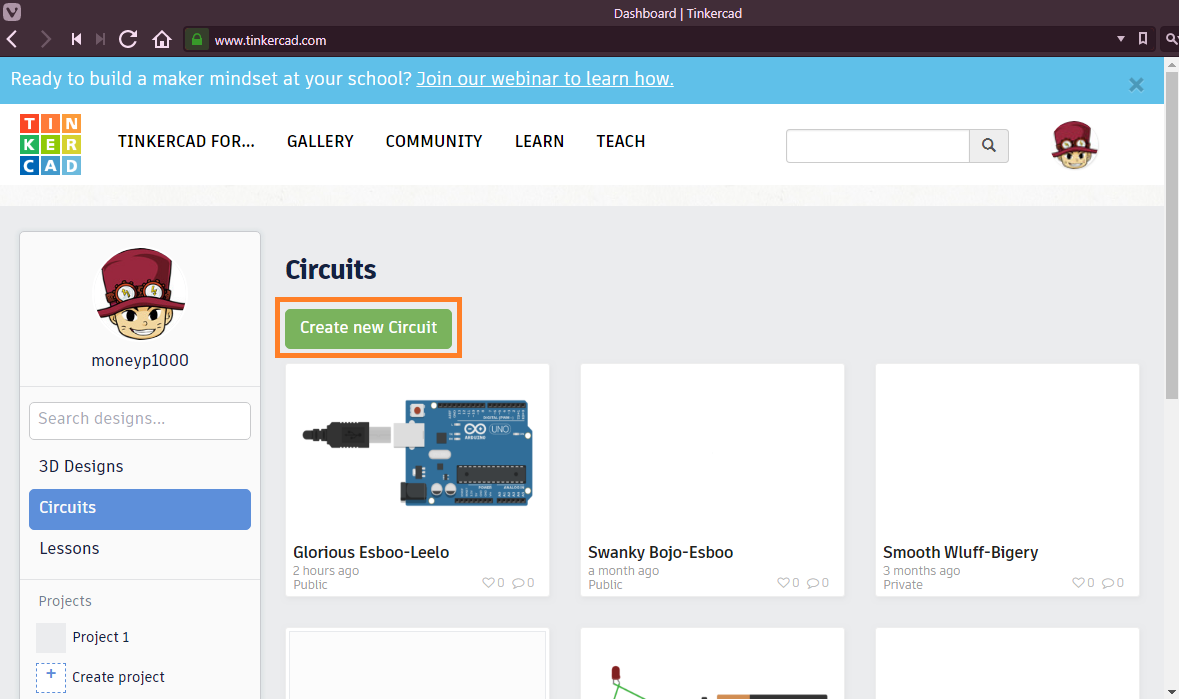
…ทีนี้เรากลับมาที่เว็บ tinkerCAD ในหมวด Circuits หลังจากเราสมัครสมาชิกแล้วก็ทำการล็อกอินก่อน แล้วไปที่หมวด Circuits เราจะเห็นปุ่ม Create new Circuit สำหรับเริ่มโปรเจ็คใหม่เราก็กดได้เลยครับ

…ตอนนี้เรามาดูกันก่อนว่าอุปกรณ์พื้นฐาน Basic ที่เขาให้มามีอะไรกันบ้างดีกว่าครับ
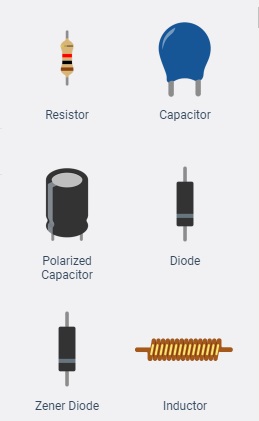
General ได้แก่ Resistor, Capacitor, Polarized Capacitor, Diode, Zener Diode และ Inductor
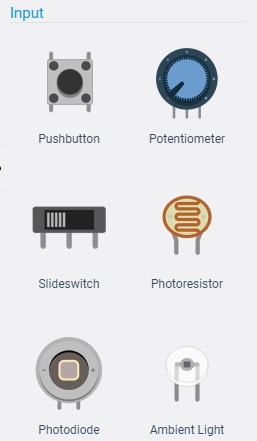
Input ได้แก่ Pushbutton, Potentiometer, Slideswitch, Photoresistor, Photodiode และ Ambient Light
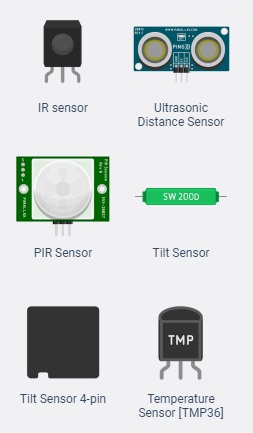
ต่อ IR sensor, Ultrasonic Distance Sensor, PIR Sensor, Tilt Sensor, Tilt Sensor 4-pin และ Temperature Sensor[TMP36]
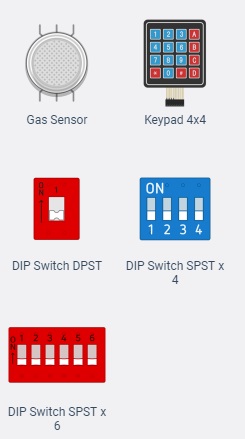
ต่อ Ges Sensor, Keypad 4x4, DIP Switch DPST, DIP Switch SPST x 4 และ DIP Switch SPST x 6
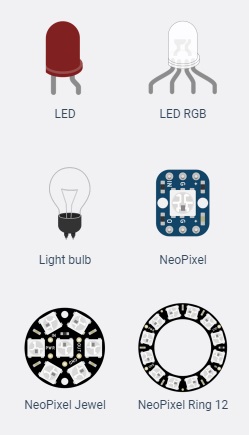
Output ได้แก่ LED, LED RGB, Light bulb, NeoPixel, NeoPixel Jewel และ NeoPixel Ring 12
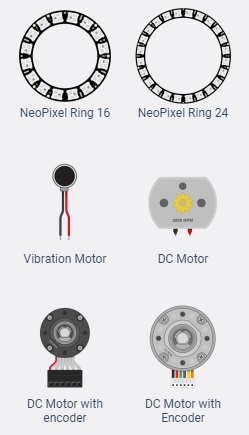
ต่อ NeoPixel Ring 16, NeoPixel Ring 24, Vibration Motor, DC Motor, DC Motor with encoder, DC Motor with Encoder
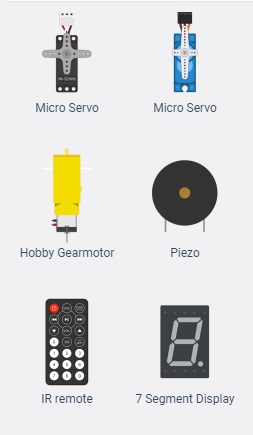
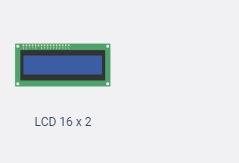
ต่อ Micro Servo, Hobby Gearmoter, Piezo, IR remote, 7 segment Display และ LCD 16 x 2
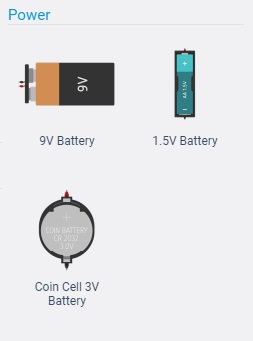
Power ได้แก่ 9V Battery, 1.5 Battery และ Coin Cell 3V Battery

Breadboards ได้แก่ Breadboard, Breadboard Small และ Breadboard Mini
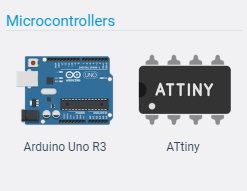
Microcontrollers ได้แก่ Arduino Uno R3 และ ATtiny
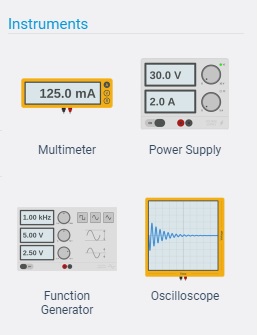
Instruments ได้แก่ Multimeter, Power Supply, Function Generator และ Oscilloscope
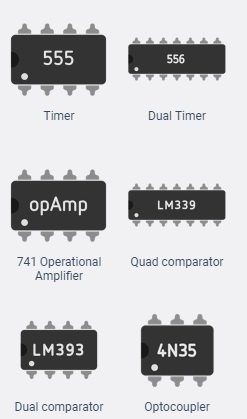
Integrated Circuits ได้แก่ Timer, Dual Timer, 741 Operational Amplifier, Quad comparator, Dual comparator และ Optocoupler
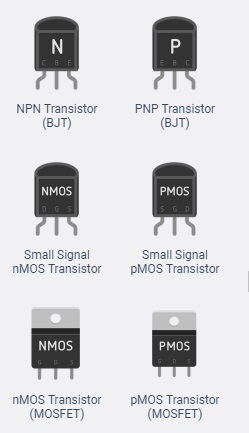
Power Control ได้แก่ NPN Transistor, PNP Transistor, Small Signal nMOS Transistor, Small Signal pMOS Transistor, nMOS Transistor(MOSFET) และ pMOS Transistor(MOSFET)
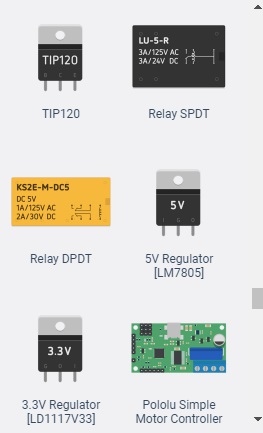
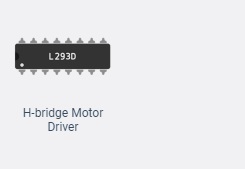
ต่อ TIP120, Relay SPDT, 5V Regulator[LM7805], 3.3V Regulator[LD1117V33], Pololu Simple Motor ConTroller และ H-bridge Motor Driver
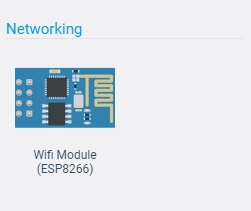
Networking ได้แก่ Wifi Module(ESP8266)
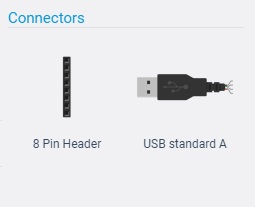
Connectors ได้แก่ 8 Pin Header และ USB standard A

Logic ได้แก่ 74HC00, 74HC02, 74HC08, 74HC32, 74HC86 และ 74HC04
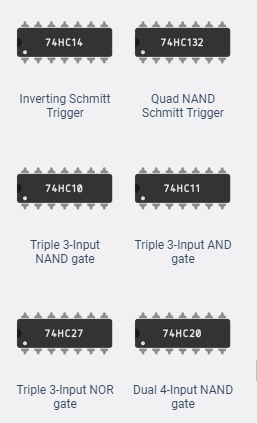
ต่อ 74HC14, 74HC132, 74HC10, 74HC11, 74HC27 และ 74HC20
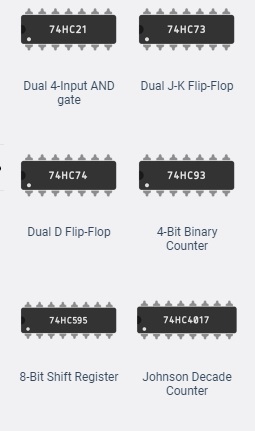
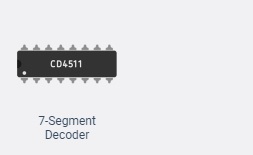
ต่อ 74HC21, 74HC73, 74HC74, 74HC93, 74HC595, 74HC4017 และ CD4511
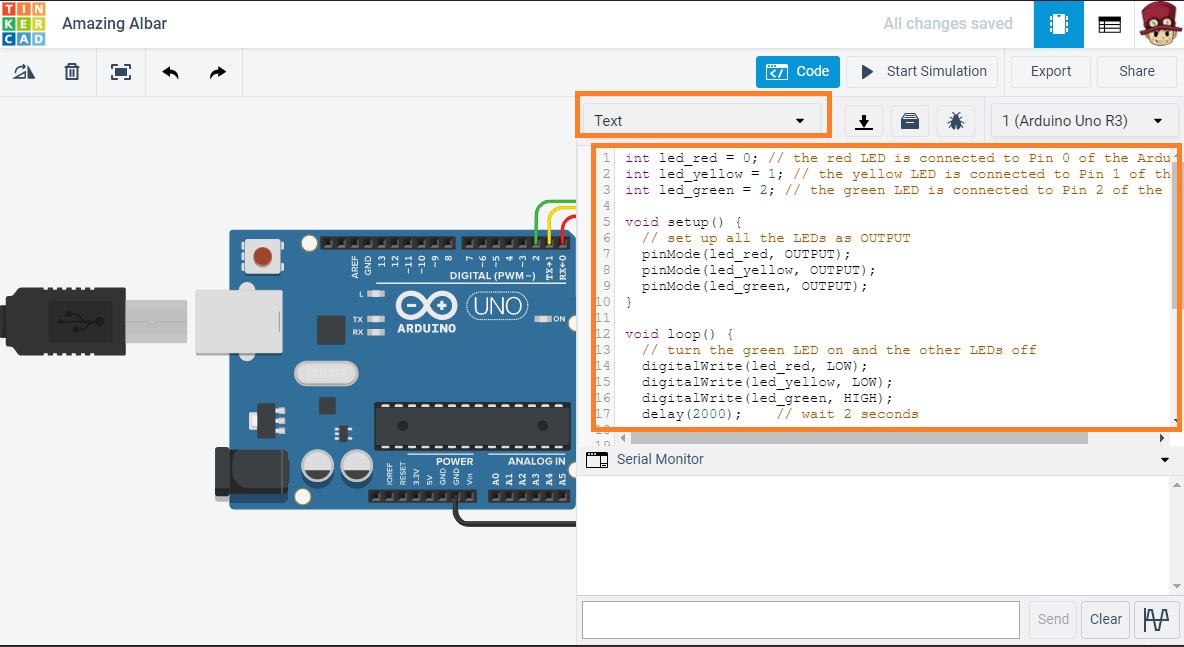
…ทีนี้เราต้องการที่จะซิมผลอะไรเราก็สามารถเลือกอุปกรณืแล้วลากมาวางบนพื้นที่ว่างได้เลย อย่างที่ผมทดสอบให้ดูตอนนี้คือเป็นการต่อ arduino กับ LED 3 ดวง 3 สี ต้องการกำหนดค่าอะไรเราก็สามารถทำได้หมดครับเช่นค่าความต้านทานของ R เท่าไหร่สายไฟแต่ละเส้นสีอะไรก็ทำได้หมดเลยครับ จากนั้นเราก็ใส่โค้ดของโปรแกรมเข้าไปด้วยโ้วยการกดตรง Code แล้วเลือก Text ครับก็คือจะเป็นโปรแกรมในรูปแบบ Text แบบดั้งเดิมซึ่งตอนนี้เราสามารถเขียนโปรแกรมเป็นแบบบล็อกไดแกรมได้ด้วยก็แล้วแต่คนถนัดครับ

โค้ตโปรแกรมนี้
int led_red = 0; // the red LED is connected to Pin 0 of the Arduino
int led_yellow = 1; // the yellow LED is connected to Pin 1 of the Arduino
int led_green = 2; // the green LED is connected to Pin 2 of the Arduino

void setup() {
  // set up all the LEDs as OUTPUT
  pinMode(led_red, OUTPUT);
  pinMode(led_yellow, OUTPUT);
  pinMode(led_green, OUTPUT);
}

void loop() {
  // turn the green LED on and the other LEDs off
  digitalWrite(led_red, LOW);
  digitalWrite(led_yellow, LOW);
  digitalWrite(led_green, HIGH);
  delay(2000);    // wait 2 seconds

  // turn the yellow LED on and the other LEDs off
  digitalWrite(led_red, LOW);
  digitalWrite(led_yellow, HIGH);
  digitalWrite(led_green, LOW);
  delay(1000);   // wait 1 second

  // turn the red LED on and the other LEDs off
  digitalWrite(led_red, HIGH);
  digitalWrite(led_yellow, LOW);
  digitalWrite(led_green, LOW);
  delay(3000);  // wait 3 seconds
}
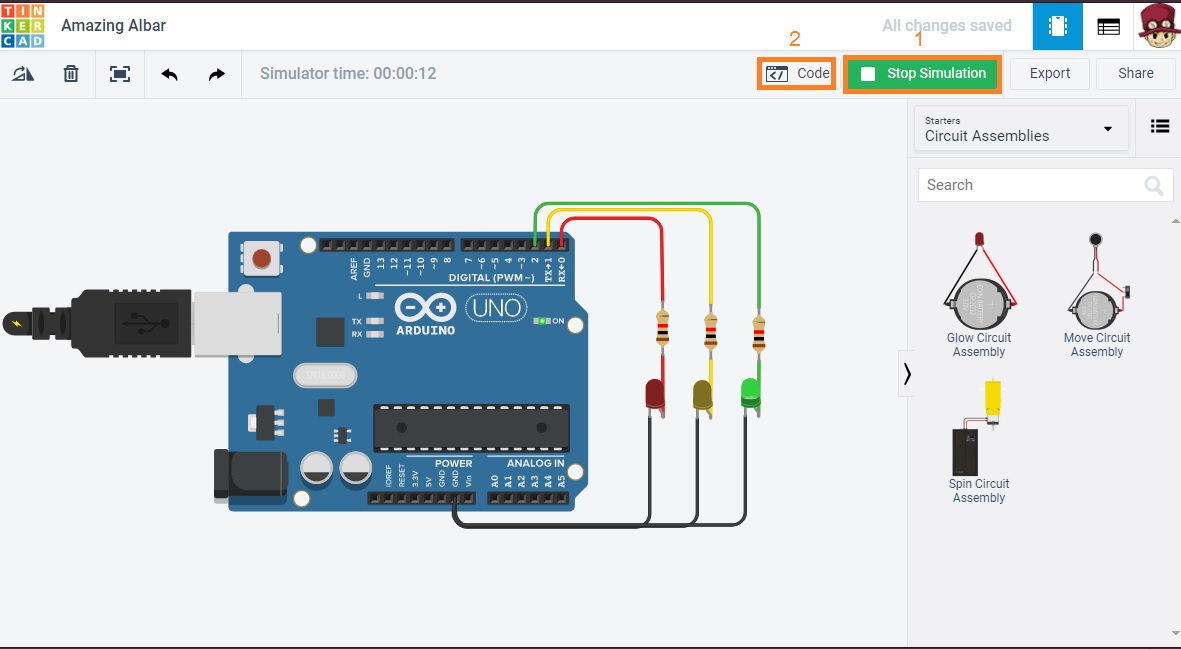
…จากนั้นกดรันแล้วกดที่ code อีกครั้งเพื่อไม่ให้โค้ตบังการทำงานตอนซิมครับ
